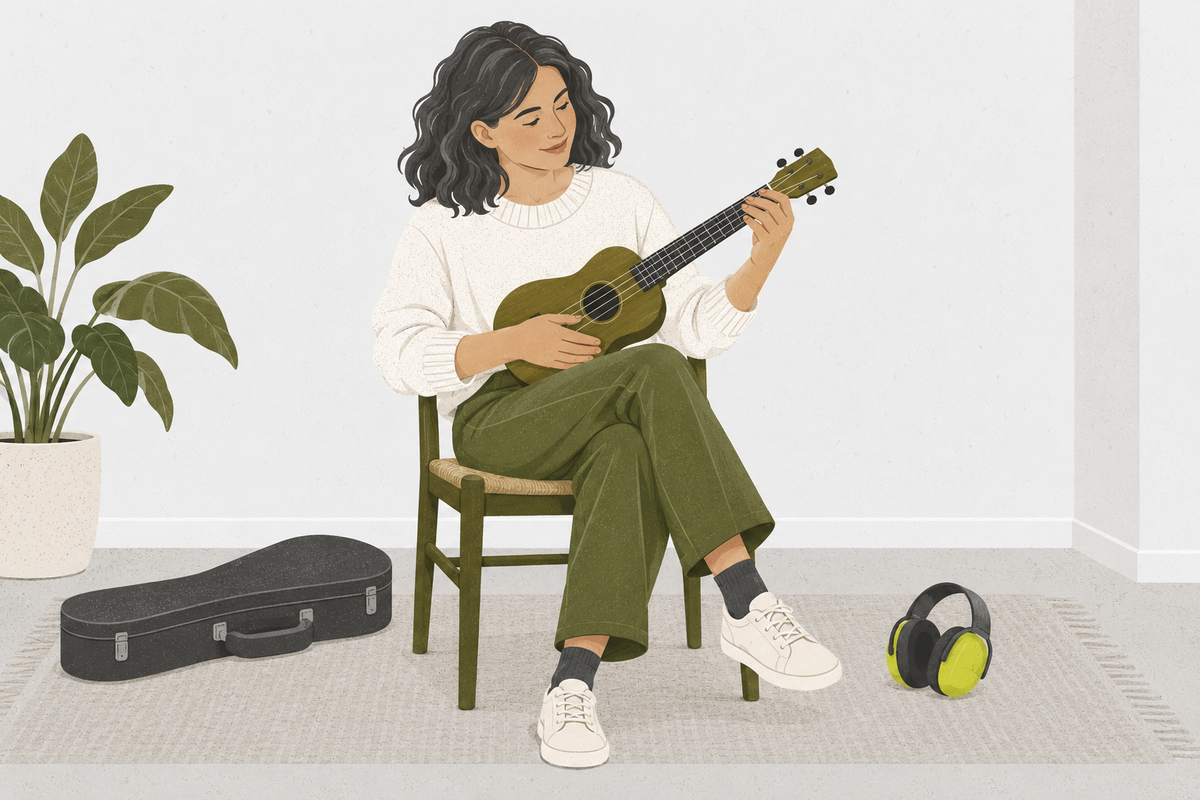
The best first instrument is not the one another person calls easiest. It is the one whose sound pulls you back, whose physical demands can be adapted to you, and whose cost, noise, storage, and access fit your ordinary week.
You do not need to predict a lifelong identity. You need a good first experiment. This guide gives you six tests, a short trial, and a decision you can revise without treating a change as failure.
The short answer
Choose your first instrument by checking six things: sound preference, reliable access, acceptable noise, physical fit, maintenance, and realistic ongoing cost. Shortlist two or three options, try the same tiny musical task on each, and choose the instrument you can imagine practising on an ordinary tired day—not only on an enthusiastic shopping day.
There is no universal easiest beginner instrument. “Easy” may mean producing one sound quickly, reading a clear layout, carrying the instrument, playing quietly, finding a teacher, or maintaining it. Decide which kind of ease matters in your life.
Test 1: Do you want to make this sound?
Start with sound, not reputation. Name three recordings or musical moments that make you want to participate. Listen for the role you follow naturally:
- a melody that sits above the group
- a bass line that supports the pulse
- chords that fill the middle
- a drum or percussion pattern
- a singing voice
- a layered electronic texture
Then separate the instrument family from the exact model. You may love sustained bowed strings but dislike the maintenance or practice volume of one option. You may discover another instrument that gives you the role and sound quality you want with fewer household conflicts.
Do not choose solely because an instrument is common, academically respected, or described as beginner-friendly. If its sound does not interest you, convenience may not be enough to sustain attention.
Quick check: after listening to three examples, can you point to a part and say, “That is the sound or role I want to make”?
Test 2: Can you access it often enough?
Ownership is only one form of access. You might rent, borrow, use a school or community instrument, practise at a studio, or begin with a teacher’s instrument during lessons.
Ask practical questions:
- Where will the instrument live?
- How many days per week can you reach it?
- How long does setup take before the first sound?
- Can you leave safe accessories—stand, seat, cable, mute, or music—ready?
- What happens when you travel or move?
An instrument stored in a hard-to-reach place creates a repeated start-up cost. That does not disqualify it, but it belongs in the decision. A five-minute setup may be fine for a planned 45-minute lesson and too much for a ten-minute weekday practice window.
If you are deciding for a child, include the child in the sound and trial stages. The adult can evaluate logistics, but curiosity and willingness to repeat the sound matter too.
Test 3: Does the sound fit your household?
Volume is not only “loud” or “quiet.” Consider when the sound can happen, who shares the space, how sound travels through the building, and whether the instrument offers a genuinely usable lower-volume practice method.
Ask:
- What times are available without disturbing sleep, work, or neighbors?
- Can the instrument be practised meaningfully at a lower level?
- Does a mute, practice pad, electronic output, or headphone path change technique or feel?
- Will you need a separate room or transport to practise?
- Can you monitor safely rather than turning headphones excessively loud?
The National Institute on Deafness and Other Communication Disorders warns that loud sound can damage hearing, with risk increasing as sound level and exposure grow. This applies to acoustic instruments, amplifiers, ensembles, and headphones. Hearing comfort and protection are requirements, not signs of weak commitment.
Quick check: write a real practice window—place, start time, duration, and people affected. If the plan depends on everyone else being away, access may be fragile.
Test 4: Can the instrument fit your body?
Physical fit is not a verdict based on hand size or age alone. Instrument size, setup, posture, reach, support, breath demands, embouchure, and adaptive equipment can all matter. A knowledgeable teacher, technician, or clinician can help when pain, disability, previous injury, or growth is part of the decision.
During a trial, notice:
- Can you hold or sit with the instrument without bracing or twisting?
- Can you reach the necessary controls or playing area?
- Does the instrument’s weight require support?
- Can you begin and stop without pain?
- Are there alternative sizes, straps, stands, mouthpieces, sticks, or layouts?
New effort and unfamiliar coordination are expected. Sharp pain, numbness, persistent tingling, dizziness, or strain is not a practice milestone. Stop and get qualified guidance rather than forcing the position.
For voice and wind instruments, avoid comparisons that reward maximum volume or long breath holding. A first trial should explore comfortable sound, not prove endurance.
Test 5: What maintenance does it require?
Every instrument has a care routine, even if it is only safe storage, cleaning, charging, tuning, or cable management. Some require consumable parts or periodic professional service.
Before choosing, ask the lender, teacher, or shop:
- What must be done after every session?
- What wears out or needs replacement?
- What damage is common for beginners?
- What temperature or humidity conditions matter?
- Who can repair or adjust it locally?
- What can a learner safely do, and what requires a technician?
Maintenance is part of access. An instrument that frequently becomes unusable because care feels mysterious will interrupt practice. A two-minute closing routine can prevent that.
Test 6: What is the ongoing cost?
The purchase or rental price is only the first line. Build a first-year estimate with ranges from local, current sources.
| Cost area | Questions to ask |
|---|---|
| Instrument access | Buy, rent, borrow, school program, or studio access? |
| Essential setup | Case, stand, seat, strap, power supply, cables, mute, or reeds? |
| Instruction | Individual lessons, group class, or supported self-study? |
| Maintenance | Tuning, strings, reeds, heads, bows, cleaning, batteries, repairs? |
| Music and tools | Books, legal scores, apps, or accompaniment? |
| Transport | Can you carry it safely; does it require a vehicle? |
| Space and noise | Is another location or treatment necessary? |
Do not fill the table with prices copied from an old general guide. Request current local totals, rental terms, return conditions, repair responsibility, and what accessories are included.
Renting can reduce commitment risk and may offer size exchanges or service, depending on the agreement. Buying used can lower initial cost but makes condition evaluation more important. Neither path is universally cheaper; compare the actual terms available to you.
Build a three-instrument shortlist
Choose no more than three candidates. Score each from 1 to 5, where 5 means it fits well today.
| Test | Candidate A | Candidate B | Candidate C |
|---|---|---|---|
| I want this sound | |||
| I can access it regularly | |||
| Noise fits my household | |||
| Physical setup feels workable | |||
| Care routine is realistic | |||
| Ongoing cost fits |
Do not simply total the columns. Mark any non-negotiable. A five for sound cannot cancel a one for safe physical fit, and a low initial price cannot cancel an unaffordable maintenance path.
Hear → Understand → Try: a fair comparison
Hear
Listen to each candidate playing a similar role: a simple melody, a steady bass part, a chord pattern, or a pulse. Use more than one performer so you do not mistake one recording style for the instrument’s full range.
Understand
Write what attracts you without ranking difficulty: attack, sustain, range, texture, rhythmic role, or the physical gesture of playing. Then write the real constraints from the six tests.
Try
With permission and appropriate guidance, spend 10–15 minutes on each candidate. Use the same tiny task:
- Make one comfortable sound.
- Repeat it four times on a steady pulse.
- Make a second contrasting sound if accessible.
- Stop, reset, and repeat the short pattern.
- Note curiosity, discomfort, setup time, and noise.
Success check: you can name what you liked, what physically or logistically blocked you, and one next question for each candidate. The winner is not necessarily the instrument with the cleanest first sound. It is the one you want to try again and can realistically access.
Run a one-week decision trial
If possible, arrange a lesson, rental, loan, or supervised repeated visit. Use four short sessions rather than one long test.
- Session 1: learn safe setup and one sound.
- Session 2: repeat a four-beat pattern.
- Session 3: play a fragment you recognize or create a two-sound answer.
- Session 4: set up without prompts, play the pattern, and pack away correctly.
After each session, record four facts: minutes to start, minutes played, one success, and one friction point. This turns enthusiasm into evidence.
Then use the effective practice guide to see whether the instrument supports a short, specific practice target.
Common decision traps
“Which instrument is easiest?”
Ask “easiest for what?” A keyboard may make pitch layout visible, a fretted instrument may make some fixed pitches easier to locate, percussion may produce an immediate sound, and voice requires no separate object. Each has deeper coordination, technique, and musical demands.
“I should choose the versatile one”
Versatility you do not use has little value. Choose for the first music you want to make, while keeping future options in view.
“I need the best instrument I can afford”
You need a safe, functional instrument that stays in usable condition and supports learning. Expert setup or teacher input can matter more than feature count. Define “functional” for your body and goal before comparing tiers.
“Changing instruments means I failed”
A trial can reveal better information. Skills such as pulse, listening, practice planning, and musical memory transfer even when technique changes. A deliberate switch is not the same as quitting.
Your first step after choosing
Create a ten-minute starting routine: set up, make one reliable sound, repeat one pulse pattern, and pack away. Keep the finish line small enough to reach.
Use the beginner music-theory map to choose the mechanic you need next. If written music is part of your route, begin with how to read sheet music. If timing is the first obstacle, work on rhythm and pulse.
Choose for the next month, not for an imagined lifetime. A good first instrument is one you can hear, reach, maintain, afford, and begin again tomorrow.